The question of what occupancy grid resolution to use is usually answered by engineers picking a number that "seems right" for their environment and then not revisiting it. 5cm for indoor warehouse. 10cm for outdoor urban. 20cm for highway. These are reasonable starting points, but they're not based on measured trade-offs — they're received wisdom from earlier robotics systems that ran on very different hardware.
This post presents measured cost-benefit data from running PathVynt's occupancy grid engine at three resolution tiers — 5cm, 10cm, and 20cm — across three hardware targets and two representative environments. The goal is to give you a framework for making this decision based on your actual robot's geometry, speed, and compute budget.
What resolution actually buys you
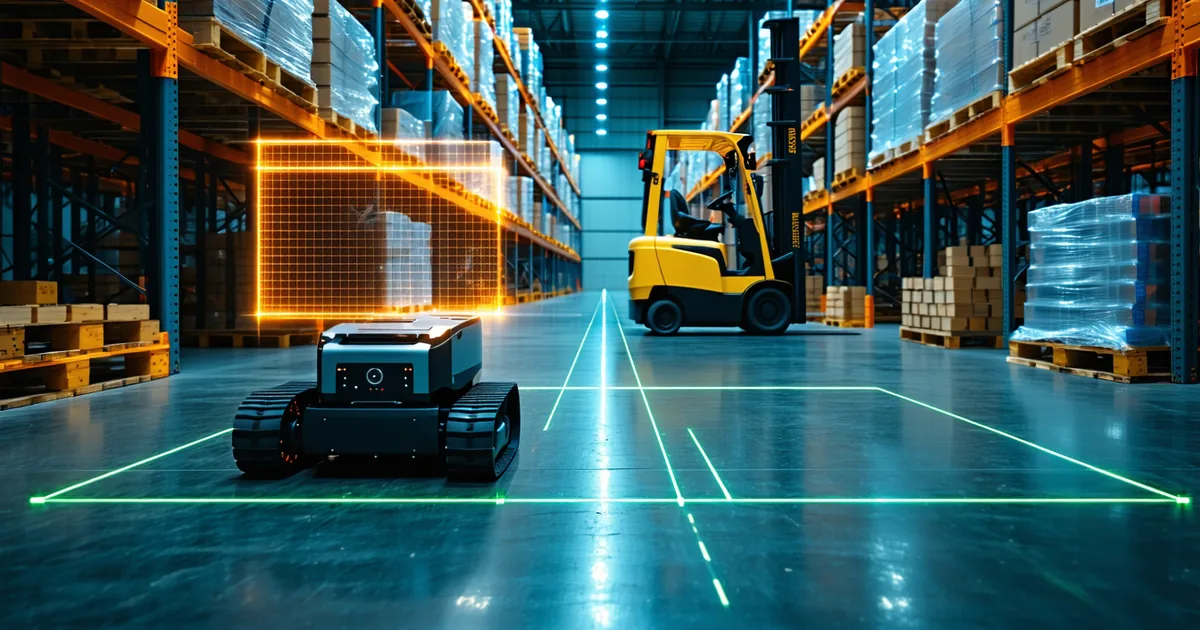
Higher resolution gives you finer obstacle contours — the ability to distinguish the leg of a pallet rack from the pallet on it, or to navigate a gap that is 30cm wider than your robot footprint without treating the gap as impassable. For a narrow-aisle AMR with a 600mm body width trying to navigate a 780mm gap, the difference between a 5cm and a 10cm grid is the difference between a passable path and a dead end in the planner's costmap.
But resolution is not free. Memory scales with resolution squared. A 5cm grid covering an 80m×80m area requires 2.56 million cells. At 10cm, the same area requires 640,000 cells. At 20cm, 160,000 cells. In practice, you don't maintain a full 80m×80m grid — you use a rolling window centered on the robot — but the scaling relationship is the same.
Compute also scales super-linearly with resolution. Each Raycasting operation (updating grid cells based on a LiDAR scan return) touches approximately 4× more cells at 5cm than at 10cm. On a Jetson Orin NX 16GB running a full fusion pipeline, this difference is consequential.
Measured latency and memory at 5cm / 10cm / 20cm
All measurements taken on PathVynt v1.4, Jetson AGX Orin 64GB (Full config) and Jetson Orin NX 16GB (Balanced config), with Ouster OS1-32 at 20Hz scan rate, 80m rolling window.
| Resolution | Hardware | Grid update latency (p95) | Peak memory | Passable-gap threshold |
|---|---|---|---|---|
| 5cm | AGX Orin 64GB | 6ms | 1.8GB | robot width + 10cm |
| 10cm | AGX Orin 64GB | 3ms | 0.5GB | robot width + 20cm |
| 20cm | AGX Orin 64GB | 1.5ms | 0.14GB | robot width + 40cm |
| 5cm | Orin NX 16GB | 11ms | 1.8GB | robot width + 10cm |
| 10cm | Orin NX 16GB | 5ms | 0.5GB | robot width + 20cm |
| 20cm | Orin NX 16GB | 2.5ms | 0.14GB | robot width + 40cm |
The "passable-gap threshold" column is important. At 20cm resolution, any gap narrower than your robot width plus 40cm is likely to be marked as partially occupied due to obstacle contour uncertainty — the grid cells at the gap edges may straddle the real obstacle boundary, causing the planner to see a narrower clearance than exists. This is not a bug in the grid; it's a fundamental consequence of resolution-limited representation. If your environment has gaps this tight, 20cm is the wrong resolution for that zone.
The case for zone-adaptive resolution
PathVynt's occupancy grid engine supports zone-adaptive resolution: a higher-resolution inner zone around the robot and a coarser outer zone farther away. This is the configuration most warehouse AMR teams should use. The standard profile:
- 0–4m radius: 5cm resolution — safety-critical zone where obstacle contour precision determines whether the robot stops or navigates around
- 4–15m radius: 10cm resolution — path planning zone where coarse passability is sufficient for trajectory selection
- 15–40m radius: 20cm resolution — awareness zone where broad obstacle presence is tracked but fine navigation decisions aren't made
This configuration on a Jetson Orin NX 16GB consumes approximately 0.9GB of memory and runs grid updates at under 7ms p95 — meaningfully better than flat 5cm everywhere at a similar safety margin. Configure with OccupancyGridConfig.zone_resolution_profile = ZONE_ADAPTIVE_WAREHOUSE or define custom zone radii and resolutions.
When 20cm is actually sufficient
For long-haul autonomous trucks operating at highway speeds (80+ km/h), 5cm resolution is genuinely wasteful. At 80 km/h, the robot travels 22m per second. The safety margin required for emergency braking is on the order of 50–80m. Obstacle contour precision at 5cm within an 80m radius consumes enormous compute for information the planner cannot use at those speeds and distances.
For highway truck operation, 20cm resolution at 100m+ rolling radius is the correct starting point. The geometry of the relevant obstacles — other vehicles, road boundaries, debris — is resolvable at 20cm. The planning problem is lane-following and gap selection, not navigating 30cm gaps between objects. Save the compute for the fusion engine and localization, which are much more valuable at highway speed.
The rule of thumb
Resolution should be no finer than one-quarter of the tightest gap your robot navigates in normal operation. For a 600mm-wide AMR navigating 900mm gaps: 75mm maximum resolution, so 5cm is appropriate. For a 2m-wide truck navigating lane widths over 3.5m: 20cm is appropriate. For a delivery robot with a 400mm footprint on a shared sidewalk: 5cm is appropriate, but only within 5m — the outer zone can be 10cm without safety impact.
Start with zone-adaptive configuration rather than flat resolution. The compute savings are significant on constrained hardware, and the practical safety difference in the near-robot zone is negligible compared to flat 5cm everywhere.